Progressive Muscle Relaxation (PMR) was developed back in the 1920’s as a tool to help reduce stress and anxiety. It was based on the idea that by progressively relaxing your body through a system of ordered steps, that could then help to promote mental relaxation. It has been studied in a lot of detail over this time and has been found to be a useful tool in helping in a number of areas, including:
- General stress reduction
- Alleviating anxiety, panic attacks and phobias
- Improving sleep quality and duration
- Chronic pain relief
- Sports performance
The mechanism with which PMR works is through the toggling between tension and relaxation of the muscles. The body holds on to stress as muscle tension, so therefore a way to reduce emotional and psychological stress is by reducing muscle tension. By doing this in a considered and conscious manner, you are training the body to deliberately release any tension that it may be holding, which then reduces mental stress. Over time as you practice it more regularly, the body will start to automatically discharge any physical stress you may be holding, which then helps to calm your mind and make you feel more relaxed.
Some of the long-term benefits that have been attributed to practicing PMR regularly include:
- A decrease in levels of general anxiety
- Increased self-esteem
- Improved concentration
- Better control over moods
- An increase in sleep quantity and quality
- Improving neck and back pain
- Reducing migraine frequency
How to do Progressive Muscle Relaxation
Learning to do PMR doesn’t take long, and you don’t have to spend a lot of time doing it every day. But it is important to be consistent with practicing it to get the full benefits. So trying to find 10-15 minutes a day that you can have all to yourself for this, will help you to reap the rewards.
At the start while learning the technique, it can be beneficial to try and practice twice a day. This will speed up the “muscle memory” and will allow the relaxation response to kick in sooner.
Getting Ready
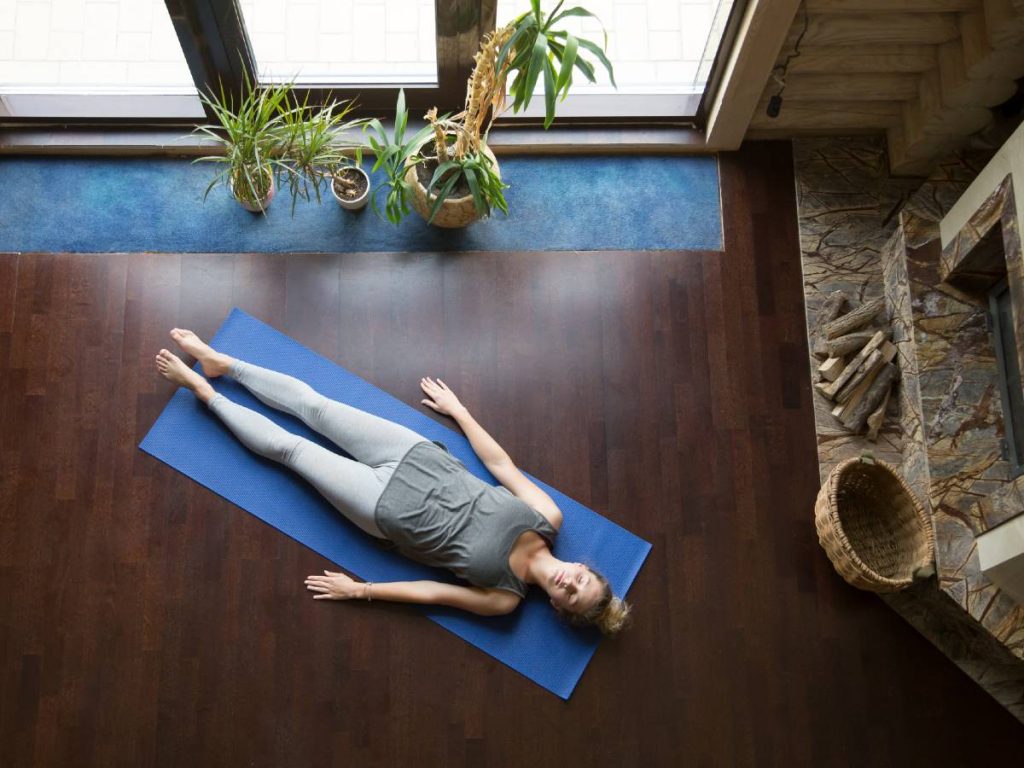
Find a quiet spot to practice that is in an area and at a time that you won’t be disturbed. This can be somewhere in your home, but you can also do it in your car in your driveway if it will prevent you from being interrupted. Find a nice comfortable chair. You can do it lying down, but this increases your chance of falling asleep, so is best done in preparation for going to bed.
Tension and Relaxation
Start by tensing a particular muscle group or area of the body eg. the hand. First focus on the hand, and as you start taking in a slow deep breath, squeeze the muscles as hard as you can (make a fist). Try to tense just the muscles that you are focussing on, and not the surrounding muscle groups. This will become easier over time. You really want to squeeze quite firmly, which may cause some discomfort or shaking, but shouldn’t be so strong as to be painful. If you have any injuries, go a bit easier in these areas. Hold this for about 5 seconds as you continue to inhale. Try not to hold your breath at any point, as this will increase tension in your body.
After you’ve held tight for 5 seconds, relax the muscle quickly, feeling all the tension flowing out of the muscle. Do this while exhaling slowly. You should feel the muscles become loose and limp, and really focus on the difference between the tension and relaxed state. Stay with this relaxed feeling for 10-15 seconds, and then move onto the next muscle group.
The Muscle Groups
It doesn’t matter which direction you go, but I like to start at the feet and work my way up.
- Feet – curl your toes downward
- Lower leg and ankle – tighten the calf muscle by pulling your foot and ankle upwards
- Upper leg – squeeze your thigh muscles as tight as you can
- Hand – make a tight fist
- Forearm – tighten your forearms, curling your wrist inwards
- Upper arm – tense your bicep, like doing a bicep curl
Do on one side of the body first, then repeat on the other side.
- Buttocks – tighten by clenching your buttocks together
- Stomach – tense abdominal muscles and pull in at the same time
- Chest – tighten by taking a deep breath
- Neck and shoulders – tighten by raising your shoulders up towards your ears
- Mouth – purse your lips together and hold, and then open your mouth wide and hold
- Eyes – clench your eyes shut
- Forehead – lift your eyebrows
When starting out, it can help to listen to a recording, guiding you through the process. There are plenty out there on YouTube, or on apps like HeadSpace.
References
Anxiety Canada (2022). How to do progressive muscle relaxation. [Online] Available at: https://www.anxietycanada.com/articles/how-to-do-progressive-muscle-relaxation/
Healthline (2020). The benefits of progressive muscle relaxation and how to do it. [Online] Available at: https://www.healthline.com/health/progressive-muscle-relaxation
Toussaint, L., Nguyen, Q., Roettger, C., Dixon, K., Offenbacher, M., Kohls, N., Hirsch, J. & Sirois, F. (2021). Effectiveness of progressive muscle relaxation, deep breathing, and guided imagery in promoting psychological and physiological states of relaxation. Evidence Based Complementary and Alternative Medicine. DOI: 10.1155/2021/5924040